Adding Event Locations
Create event locations separately from the event itself -- and before you create the event.
When you create an event, you can choose the location from a pre-populated list. Though you could instead add location information to the body of the event description, using the location field allows the event’s location to appear in previews of the event on your calendar and any other event listings on your site. In addition, using this field ensures location information is listed consistently on all event detail pages.
In order to select a location for an event, you first have to create that location following the steps below.
How to add a new location
- From your site’s dashboard, go to Events > Locations.
- Click Add New in the top left corner of the screen.
If you see Venues instead of Locations, your site is likely using a different Events tool. This tutorial should closely follow the same process for your site, but if you get stuck, contact sites@wustl.edu for assistance.
- In the title field, enter the name of the location (e.g., Danforth University Center).
- Leave the visual editor (the big text box below the toolbar) blank.
- In the Select a Location box, click the Google Map button.
- Enter the address, city, state, postcode and country in the fields to the right of the map.
- The text you enter in these fields will display as the address when the location is associated with events.
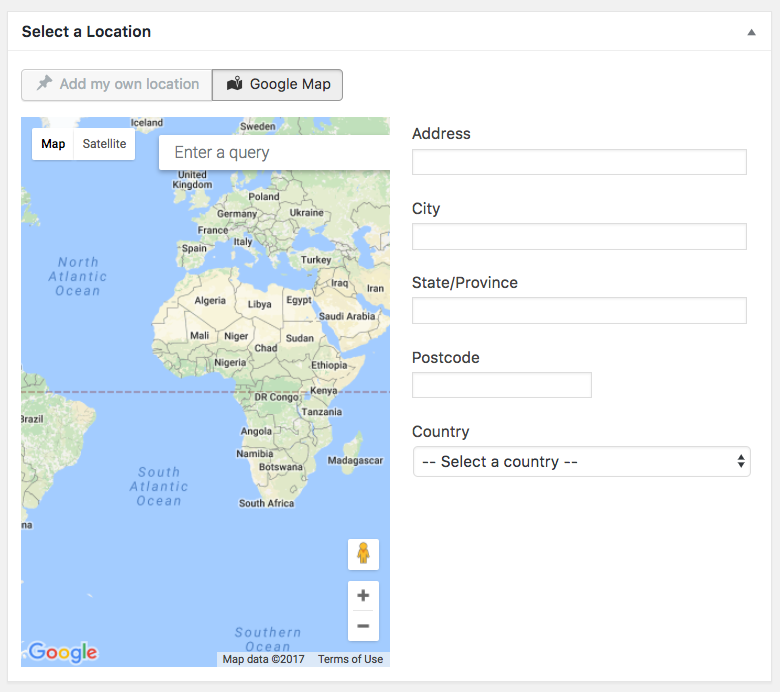
- In the field at the top of the map that says Enter a query, type in the address again to locate the address on the Google Map.
- Move the location pin, if necessary. For example, multiple locations have the address 1 Brookings Dr., so you may need to move the pin to the correct building on campus.
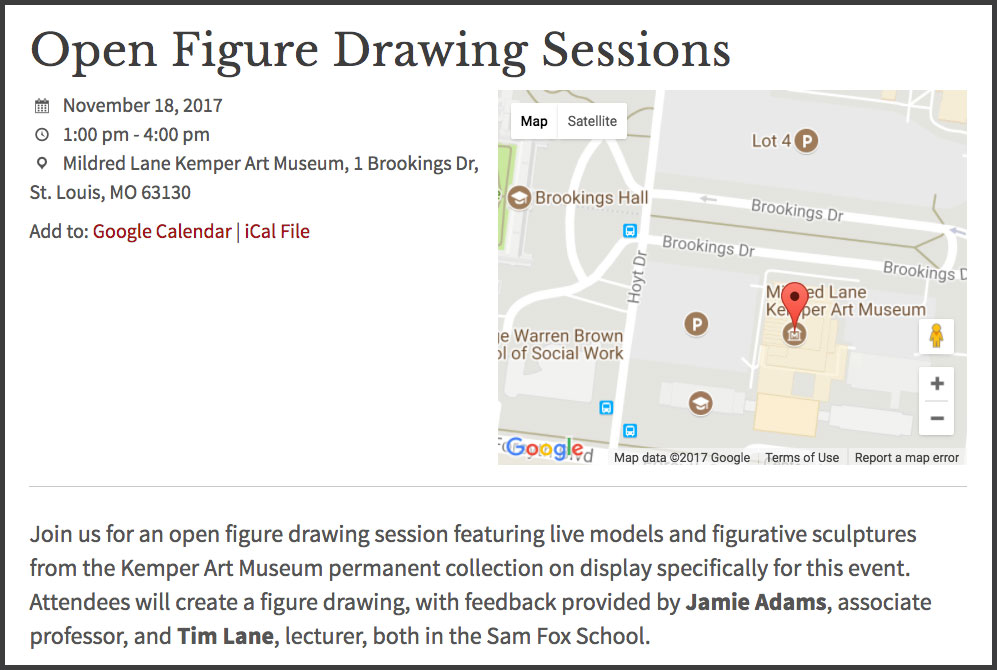
If you forget to type in the address in the Enter a query field, only the address text will appear on the event detail page, not a map.
This event shows a location for which the Google Map was activated:
This event shows a location for which the Google Map was NOT activated:

- Click the Publish button on the right of the page.
Once you’ve created an Event Location, it will be searchable in the Event Location field, which typically appears in the right panel when editing an event post.
Tips for virtual events
Since the location field is useful for event previews and consistency, we recommend creating an event location even for virtual events.
For example, you might create a location called “Zoom” and leave the address and map information blank. In the body of the event description, provide instructions for attendees to join.
WashU IT recommends against listing Zoom links publicly, so you may wish to have attendees register; then you can email the link. Attendees can register by emailing you directly, or you can create a simple form.
Adding a List of Events to a Page
Add a list of all upcoming events, or events from one or more categories.
Adding Event Locations
Create event locations separately from the event itself — and before you create the event.