Adding New Posts
Posts can be used for dated content like news, announcements or blog posts.
Anatomy of a post
When you create a new post, it affects the way things will look in two places:
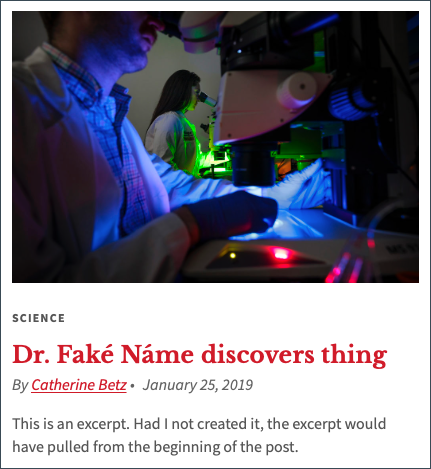
Preview snippet/tile
A post’s preview snippet (or tile) always includes a title and and may include a featured image thumbnail, excerpt, author, date, and any categories to which it belongs.
It can link to a post detail page or to an external source, and it only appears when inserted on a page using the latest posts block.
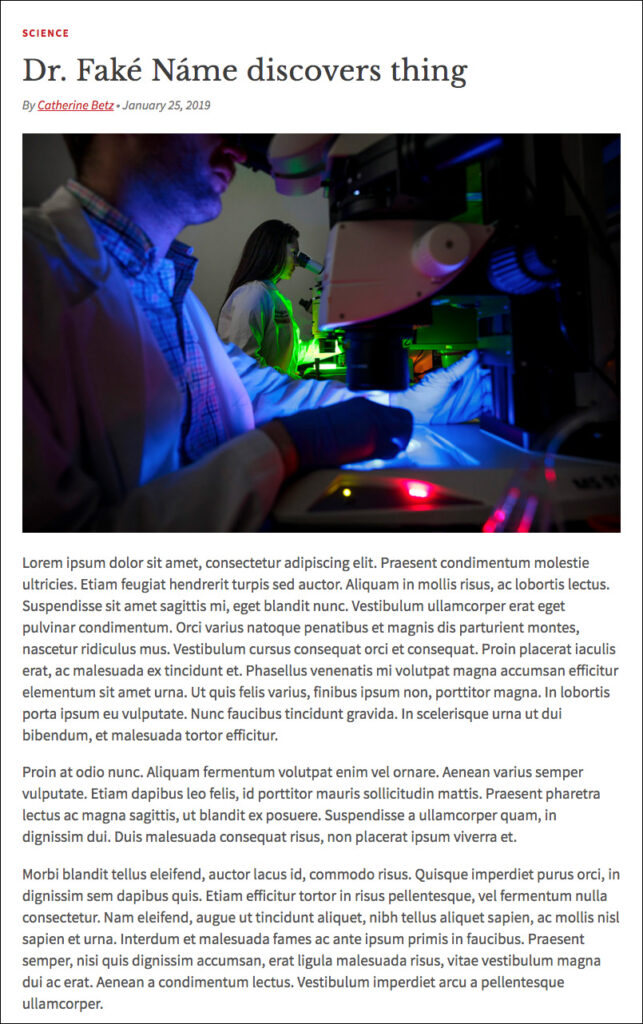
Post detail page
The post detail page is the post’s page on your site. It can be accessed through the post’s preview snippet or any other links pointing directly to it.
The featured image appears at full size at the top of the post detail page and is followed by any text or images entered using the content editor.
Creating a post
1. Add a new post
- Go to Dashboard > Posts > Add New or, from the black admin bar at the top of any page, click New > Post.
2. Add a title
- Type in a title, or name, for your item.
- For consistency, try to make all titles the same letter case: title or sentence.
3. Add body content
- The post’s body content is the main content that shows on the post detail page. Add and format body content the same way you build and edit pages on your site.
- If you’re posting an article from another website — including the Record, Washington Magazine, or other media sites — leave the body blank. Rather than copying content from the source, you’ll want to set the post to link directly to the original story. See the tutorial on posting news from other websites.
4. Update the display name, or change the author (optional)
- By default, the byline of a post will show the username of the person who created the post.
- You can update how this name displays by navigating to Users > Profile from the dashboard and looking for the dropdown labeled Display Name Publicly As. From the dropdown, select the name format you’d like to display, then click the Update Profile button at the bottom of the page.
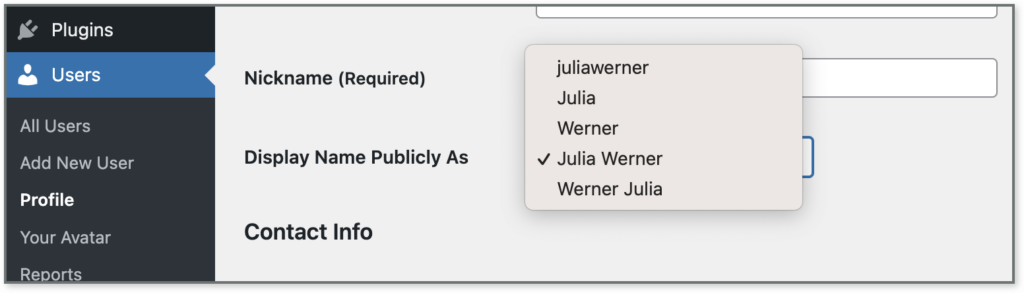
If this setting is grayed out or inaccessible to you, contact sites@wustl.edu for assistance.
- If another person actually wrote the content and you’d like to credit them instead, you can change the author at the bottom of the post editor under Authors.
- Additionally, if multiple people contributed to the post, you can add them as co-authors.
- Learn how to change the author or add multiple authors »
5. Categorize the post
- In the post categories box in the right panel, check all relevant categories or create new ones as needed. Categories allow you to organize or filter posts by type, so that you can embed a subset of posts on a page.
- Learn more about adding categories to posts »
6. Include a featured image
- By default, a post’s featured image appears at the top of its post detail page at full size and as a thumbnail on its preview tile.
- To add an image, click document at the top of the panel on the right. Then, scroll down to the featured image box and click set featured image.
- Upload or select an image from the media gallery that is at least 760 pixels wide. If you upload an image that is less than 760 pixels wide, it will not appear on the post detail page.
- Learn more about image sizing »
Images
Cropping all of your featured images to the same aspect ratio before uploading them to your posts can make a huge difference.
Recommended
- Landscape, or horizontally oriented, images
- Consistent 3:2 aspect ratio
Not recommended
- Portrait, or vertically oriented, images (including headshots)
- Inconsistent aspect ratios among post images
7. Decide where the featured image will display
- Check or uncheck the box under featured image display, depending on where you want the image to appear:
- Checked: Image displays on the tile and at the top of the post detail page (recommended in most cases)
- Unchecked: Image only displays on the tile
- Useful if you want to feature a different photo, or perhaps a video, at the top of the post detail page, in the body content area
8. Include an excerpt
- In the right panel, write the excerpt — a brief description of your post’s content to encourage people to click through to the full story.
- Your excerpt should be 30 words or fewer if you plan to embed your posts using the Latest Posts block (recommended; more on that in the section below).
- If you don’t enter an excerpt, the first 30 words of the body content will become the excerpt, which may or may not be the best summary of the post.
Up next: Displaying posts on your site
In addition to creating individual posts, you’ll want to list the posts somewhere on your site — maybe even on multiple pages. You can use the Latest Posts block, or designate a default news page:
- The Latest Posts block gives you control over which posts to show (based on categories), how many to show, in what order, and what fields to display. You can use this block to create the main news or blog page, or to add a few posts as part of a layout with other content, such as a featured story or a row of recent posts on the homepage.
- Setting a default posts page (aka blogroll) designates a page to display a list of all posts in reverse chronological order. You control which page the posts appear on and how many posts to display per page. You cannot include any other content on the page. If you want more options or control, use the Latest Posts block instead.
Inserting Latest Posts (News, Blog) on a Page
Use the Latest Posts block to customize how news or blog posts are embedded and displayed on any page of your site.
Options for saving drafts, previewing and publishing content
Once a page is live, saved updates are publicly visible. Know your options for controlling the visibility of pages.
Posting News from Other Websites
Share timely content from other sources, including The Record, journal publications and media outlets.
Reverting to a previous version of a Page or Post
View the revision history and restore an earlier version of a page or post.
Setting a News Page
Use the Posts Page setting or the Latest Posts block to automatically list every news or blog post published on your site.